This super cute baby quilt pattern is really simple. Perfect for anyone who hasn’t quilted before. Babies always need more blankets, so a quilt is a useful and thoughtful gift!

I love making quilts for babies. Honestly, I love making pretty much anything for a baby. In part because babies are incredibly cute and it’s a better way to show my love than secretly eating them up for dinner. But mostly it’s because babies are tiny, which means anything you make for them is also tiny.
Have you tried knitting socks for an adult male? It will take you hours and hours, whereas baby socks can knit up in less than an hour. The same goes for booties, hats, and quilts.
The first baby quilt I made was for one of Brad’s nephews. I made the mistake of deciding to knit a quilt with different colored squares and little intarsia animals in each square. I was twenty-one years old and had no idea what I was doing. It took months to knit that quilt, watching reruns of Seinfeld and Law and Order on TV.
Fast forward a bunch of years, and I’ve made a number of baby quilts. A process mostly refined by the two quilts I made for Max. They are still my favorite thing to sew because they are:
- Quick and easy
- Thoughtful and heirloomy
- Super cute!
How to Make a Baby Quilt
This quilt is made of simple squares and a double border. The first baby quilt I made for Max was with flannelette and a nine-patch quilt block.
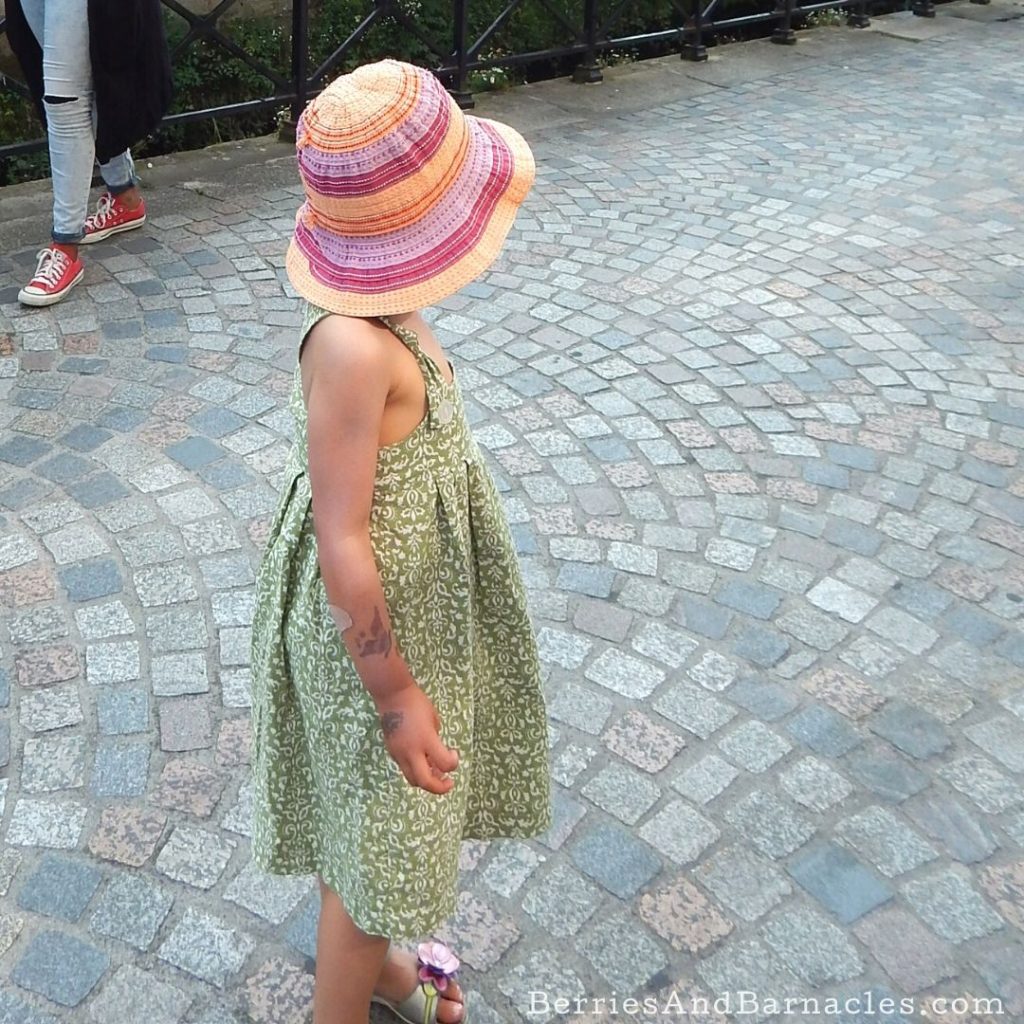
However, I chose a simpler diagonal stripe pattern for this tiny quilt. It’s made from 3 different quilting fabrics, that Una helped me pick out (then requested that buy extra so I could make her a matching sundress).

Simple Baby Quilt
This super cute baby quilt pattern is really simple. Perfect for anyone who hasn’t quilted before! Babies always need more blankets, so this quilt is a useful and thoughtful gift.
Materials
- 2 primary fabrics (Choose two fabrics to form the border and the bulk of the quilt. You will need about 1.5 yards of each of the main fabrics. The green and blue squares are my primary fabrics).
- 1/2 yard of contrast fabric (The contrast fabric should be a bright and bold pattern that provides the subject of the quilt. The elephants are my contrast fabric).
- Batting: 36-inches by 48-inches (I like to use pure cotton batting for baby quilts).
- 2 yards of backing fabric (I typically use old sheets for large quilts, but a baby quilt is small enough for another piece of quilting fabric).
- Thread
- Embroidery floss for knotting the layers together
- Two packages of double folded bias tape (I'm too lazy to make my own blanket binding).
Tools
Instructions
MAKE THE QUILT BLOCKS
- Start by cutting the border fabric. Here’s the cutting guide. Fabric 1: Two strips of 50-inches by 4-inches and two strips of 38-inches by 4-inches for the border. Fabric 2: Two strips of 43-inches by 3-inches and two strips of 31-inches by 3-inches for the border.
- Next cut 5 by 5-inch squares for the quilt blocks. Here's the cutting guide. Fabric 1: twenty-seven squares for the quilt blocks. Fabric 2: thirteen squares for the quilt blocks. Fabric 3: Fourteen squares for the quilt blocks.
- Lay the blocks out on the floor so you can get them all oriented in the right direction and set up just the way they will be organized in the final quilt. I always take a photo once I've got them all set up so that I don’t forget the order.
- Sew the quilt blocks together using a 1/4″ seam allowance. They don’t need to be backstitched, so you can easily sew a bunch of blocks together in a chain, then cut them apart. Here’s a detailed explanation of chain piecing. For this quilt, I sewed all the blocks together in a line, then sewed the lines together. But it really doesn’t matter, as long as you get them all lined up nice and square.
- Iron the quilt seams flat as you sew because it makes nice, crisp quilt squares.
- Once the center of the quilt is finished, add the border fabric, starting with the narrower fabric, then using the wider fabric for the outside. The cut pieces are long enough that you should be able to set up the overlap in any direction at the corners. Just trim the excess fabric. Here are more instructions on how to sew a quilt border.
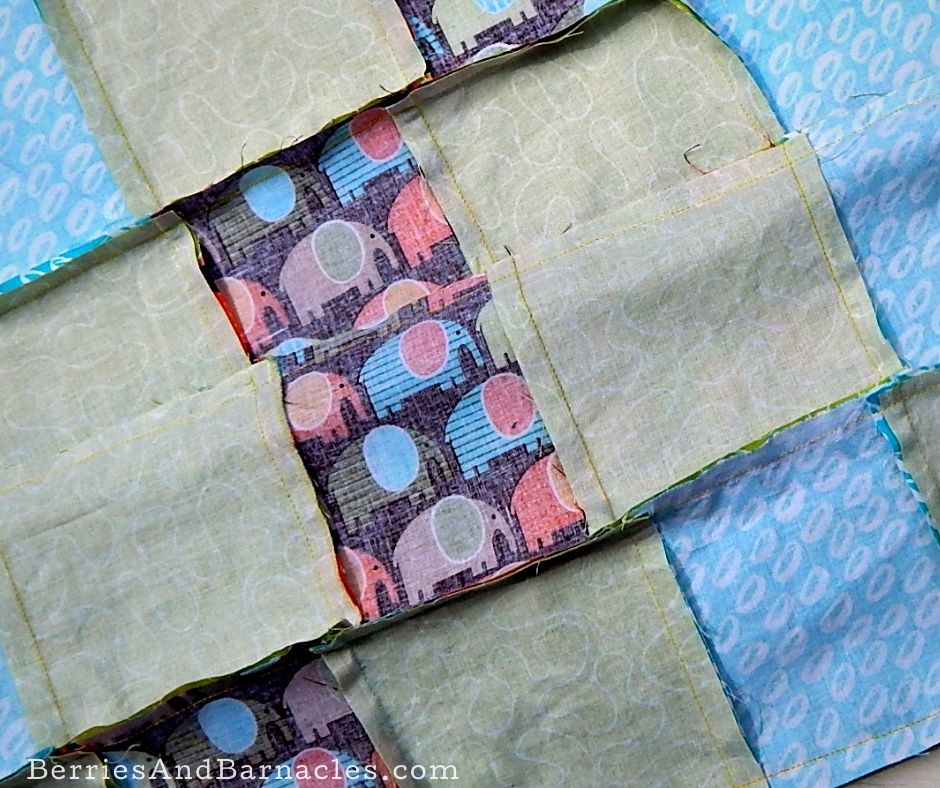
Quilt squares aligned in strips.
PUTTING IT ALL TOGETHER
I’ve never properly quilted anything. So this is my simple hand-tied quilting method. It's perfect for people who don’t like hand sewing and don’t own a quilting machine.
- Iron the front and back of the quilt so they are crisp. Lay the quilt out on the floor, with the batting nice and flat between the front and back of the quilt. The good sides of the quilt should face outwards.
- Using large safety pins, pin the layers of the quilt together in about 8 places. This will hold everything together while you tie the layers with the embroidery floss.
- The goal is to tie the quilt together at the corner of every square. Thread the embroidery floss on a large needle. Then starting at the edge of the quilt, push the needle up from the back of the quilt through all three layers, leaving a 2-inch tail of thread. Then push the needle back through the layers and tie a simple overhand knot with the embroidery floss. Cut the embroidery floss leaving a 1-inch tail.
- Continue working your way along the quilt tying knots at the corner of each of the squares. Make sure all layers of the quilt stay nice and flat as you go along so you don’t end up bunching between the layers.
- When all the knots are tied. Trim the edge of the quilt so all layers make a nice and neat edge. Then sew on the bias tape with mitered corners and you’re done!
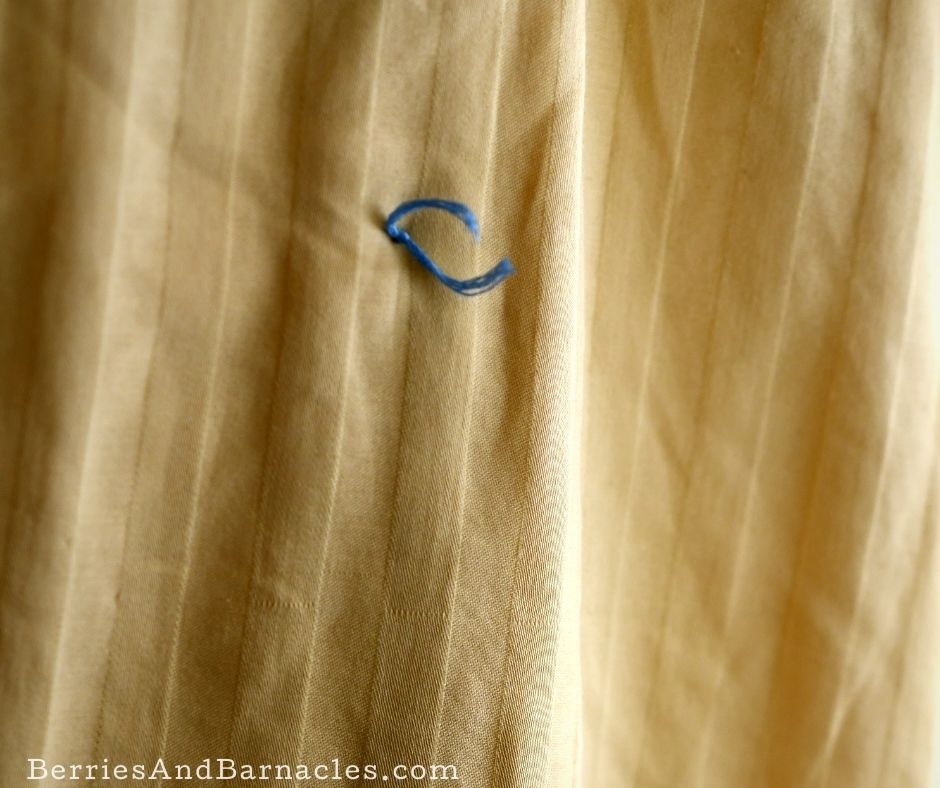
The layers are knotted together with embroidery floss.
Check out more sewing projects:


Leave a Reply