Want to improve your food photography? Here are some tips and tricks along with a simple setup for taking photos in your home.
It’s not always easy to take good photos of food. A glass of beer on a sunny patio will always look good. But it’s a lot harder to take a photo of a salad. Here are some food photography tips and tricks. Perfect for anyone starting a food blog or wanting better Instagram photos.
How I learned about food photography
Honestly, it took quite a lot of practice to get good at taking food photos. I started with a point-and-shoot camera on a personal blog that I wrote for my family and friends back home while I was living in Ireland. Even after I started Fermenting For Foodies, I treated it more like a hobby than a professional website. So my photos were all taken quickly with little thought to lighting and composition. Once I realized that I had an audience outside of my family and friends I decided I needed to improve things a little.
Three ways to improve your photography
- Practice: The photos on most of my older blog posts were replaced at least three times before I finally took a decent photo. Once I started working at it, I slowly improved my skills. However, the tips below should help you avoid some of my early pitfalls.
- Learning: I’ve read a lot about photography, watched videos, and asked questions. It’s really the only way to improve on a skill.
- Experimenting: I’m fortunate enough to have a neighbor who is a trained photographer. He owns all sorts of photography equipment, including vintage lens filters, a softbox lighting kit, etc. He was kind enough to let me borrow a bunch of his equipment to play around and figure out what worked for me. It’s also nice to be able to chat about photography with someone who knows more than I do.
Food Photographer’s Code of Honor
Any advice on Food Photography ought to start with the food photographer’s code of honor. (I’ll admit, it’s not an actual thing, but it’s really important to me and to many other food photographers).
Thou shalt not create fake food images.
It’s very important that the food you are photographing is of the ACTUAL recipe or item. No doctoring a bowl of soup to make it look fuller. No buying a loaf of bread and pretending that is it your GF recipe. If you are a professional photographer, you could actually get sued for faking food photography.
And if you are a blogger, it will be hard to build trust in an audience when it’s clear that your photos don’t match the recipe. Or if your food photos are the same as those featured on another blog! (If you happen to see one of my photos on a different blog, please let me know! I have my photos and content stolen on a regular basis… sigh).
However, you can use toothpicks to secure food in place or modeling clay to prop up a dish for the right angle. But don’t use mashed potatoes for ice cream… just freeze the scoops of ice cream on a cookie sheet, then take a few quick photos before popping them back in the freezer.
Tips and Tricks
Here are 18 tips and tricks to get you started. All of the affiliate links should link directly to the equipment that I use (provided it’s still available).
Equipment
- If you’re serious about photography you need to have a DSLR camera. I borrowed DSLR cameras from everyone I knew and tried them all out before choosing this camera. Interestingly, it also happens to be the camera I borrowed from my photographer neighbor… I chose it because it was easy to use and took great photos.
- Lenses matter. Unless you buy the most expensive zoom lens available, you’re better off with a few static lenses. I use an 85mm lens for most of my photos, with a 35 mm lens for when I need a flatter image. My videos are taken on a 25 mm lens.
- Use a telescoping tripod for stability. It will keep the photos crisp and sharp. A remote camera control is also handy, but I usually only use it when I’m photographing myself. (Then I can set everything up and hand the remote control to someone else, so they can take the photo).
- Natural lighting is best for food photography. Even “natural spectrum” lights add odd color casts to food. So skip buying fancy lights and buy a reflector and diffuser instead. I also use black and white mat boards (purchased from an art store) to reflect light. Check out my setup below.
Food Styling
- Food styling is an art. I could probably write a whole post just on food styling. However, it helps to look through cookbooks and images online to see what makes a good photo and what doesn’t. I recommend foodgawker for a curated collection of decent food photography.
- Submitting photos to foodgawker is also a great way of getting feedback. I’ve had more than a few photos rejected for being under or over-exposed.
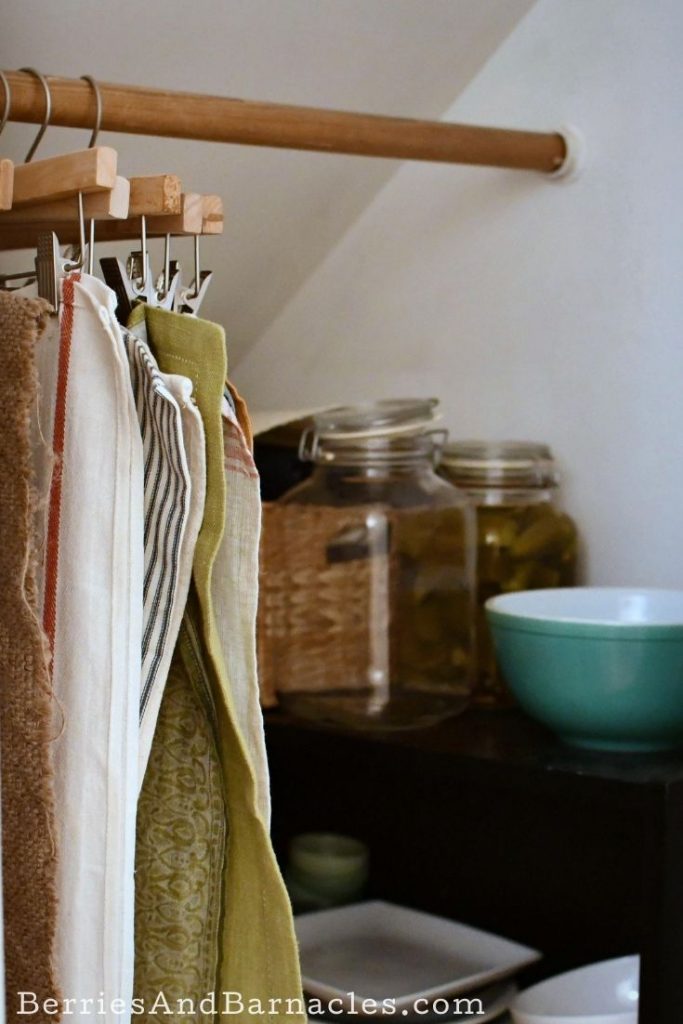
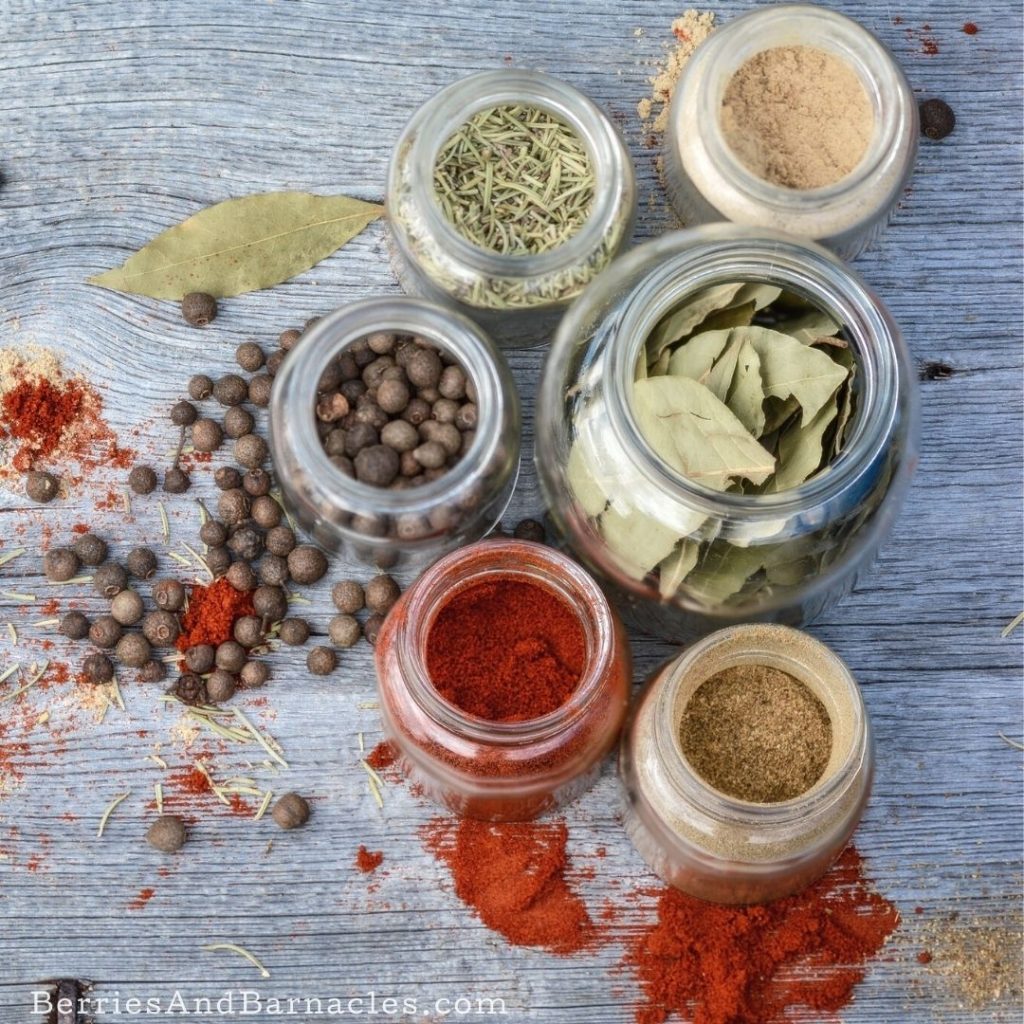
- Start collecting a variety of backgrounds, dishes, and props. I have 4 cutting boards, a stack of plates, bowls, and cups just for photography (and the occasional cocktail party). I have pieces of wood that I use as backgrounds as well as a bunch of fabric that can either be placed under the food or tacked up as a background.
- Create layers in photos, with color and texture. Think about the colors in the dish you are photographing and try to bring in contrast.
- It’s also important to know your style and branding. I like bright photos filled with white and color. But dark backgrounds really make certain types of food pop. Branding should be built into the style. Decide whether you want your photos to feel vintage, rustic, minimalist, or modern.
- Think of reflections… some photographers even wear white to prevent a color cast caused by their clothes. I generally stand far enough away from my food that it doesn’t matter, however, the area where I photograph is painted white for brightness.
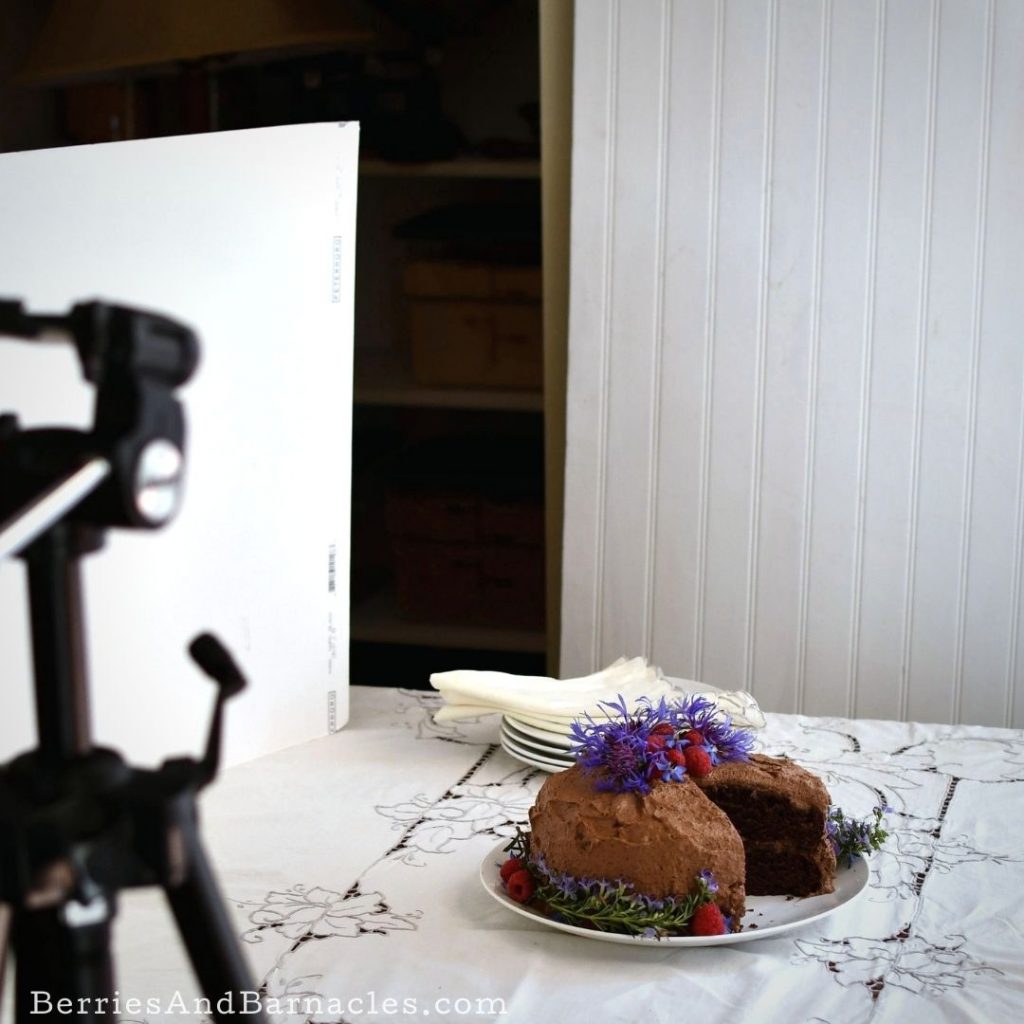
Setup
- Most home-based food photographers (aka bloggers) set up in front of a big window. It’s the best way to get a lot of natural light. My window happens to be in my living room… and we’ve rearranged our house so that it works.
- Too much sun = harsh shadows. Try to time your photography so that it’s bright in the window, but avoids direct sunlight. Even a filter won’t fix that harshness.
- Rainy days = bluey-grey photos. I just don’t do it… which means I often delay my food prep and photography. (I do live in the pacific northwest). Cloudy days are fine, provided the clouds are high and the sky is bright.
- Use mat cards and reflectors to control shadows. Generally, you want a bit of shadow (or the food looks flat) but not too much.
Post-processing
- Every photographer does post-processing to manage brightness and color balance. However, a better-quality camera will require a lot less post-processing.
- Try to include white or grey in the photo or use a grey card for color correcting.
- If you are a blogger or an Instagrammer, I recommend creating your own filter (to be applied after color and brightness correction). Then all your images will have a unified feel.
- I’ve also started posting really low res-images to my blogs. While I’d prefer crisper images, small image sizes help with site speed and load time. It also reduces the number of images that get stolen.
Check out more cookbook posts:
Leave a Reply