Natural homemade balms take less than 5 minutes to make. Here are my favorite recipes for foot balms, relaxation balms, and an anti-bug balm.
I am a busy person. And like all busy people, I often take on more than I can manage. So I really don’t have time to make Pinterest-worthy kids’ clothes or homemade croissants. However, I do have time to make homemade balms.
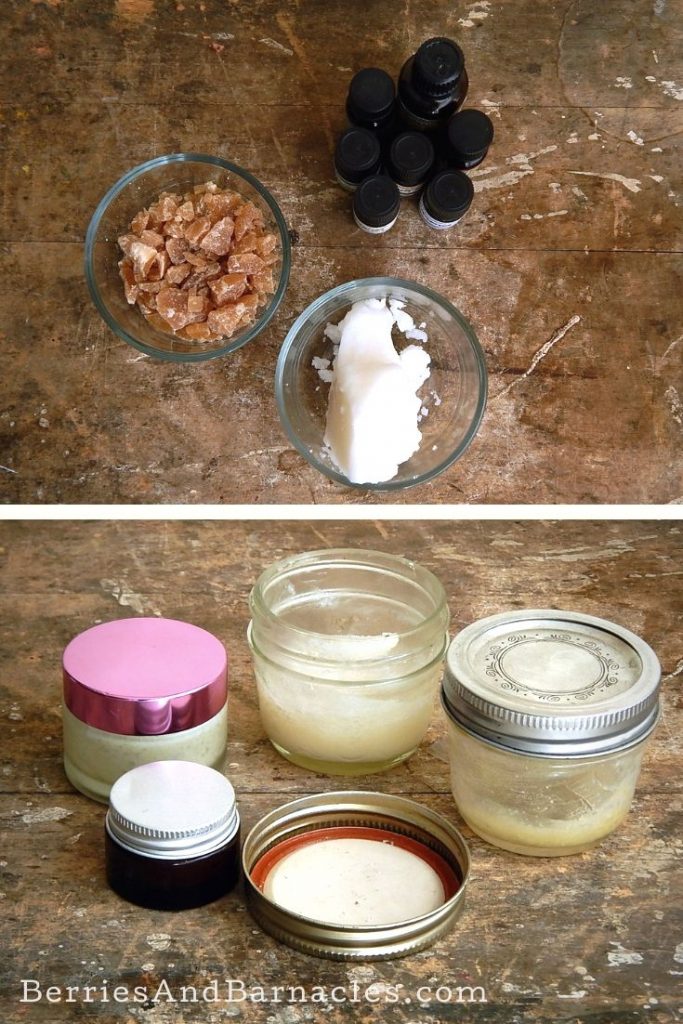
That’s because making balms is unbelievably easy. It literally only takes 20 seconds to melt the beeswax and coconut oil in the microwave.
Probably the most difficult part is purchasing the necessary essential oils. And that’s mostly because good-quality, natural essential oils are expensive. Cheap or synthetic essential oils really aren’t worth it, because you just won’t get the same therapeutic effects. And what’s the point of making a balm if it doesn’t work?
My setup of essential oils cost about $80. So it’s not really something you’d do as a one-off. However, the essential oils last for a few years and a small bottle can make an awful lot of balms. Besides, buying pure and natural balms is really expensive. So make some for your friends, family, and the kids’ teachers. They’ll love them!
Five Different Types of Homemade Balms
Making homemade balms is really easy. It will take you more time to source the supplies and ingredients than to actually make the balms.
I usually do a massive batch of balms all at once, melting the oils in the microwave, then adding the essential oils. Just be sure to label the jars before you add the essential oils because it can be hard to tell some of these apart by smell alone.
Carrier Oils For Balms
The exact thickness of the balms is not a precise recipe. It really depends on how solid or liquid you want the balm to be. If you aren’t sure, then play with adding a little bit of wax at a time, and testing to see what your ideal balm consistency is.
Officially, the essential oils can be mixed into any carrier oil that you want. Here are a few of my favorite combinations:
- Liquid balm: For a liquid balm, use straight olive oil. I usually use pomace oil, because it’s affordable and it’s less likely to be adulterated. The dark color and strong flavor don’t really matter once you’ve mixed in the essential oils. I use a liquid balm for my headache recipe.
- Quick melting balm: A really soft balm can be made with straight coconut oil. This balm will instantly melt with the heat of your skin.
- Buttery balm: A thicker balm can be made by adding a small amount of beeswax to the oil. The greater percentage of beeswax, the firmer the balm will be. I usually use about 1 tsp of beeswax with 2 Tbsp of coconut oil for my buttery balms. However, I’m really not that precise. Here is a handy guide for anyone into a bit more precision.
Essential Oil Mixes
Balms are perfect to soothe and comfort. Particular combinations of essential oils can relieve pain or keep away mosquitos. As I mentioned above, the secret to really nice balms is to use high-quality, pure essential oils.
These essential oil mixes are designed to be mixed into 2-3 Tbsp of carrier oil. They are quite concentrated, so feel free to dilute them if you find them too strong.
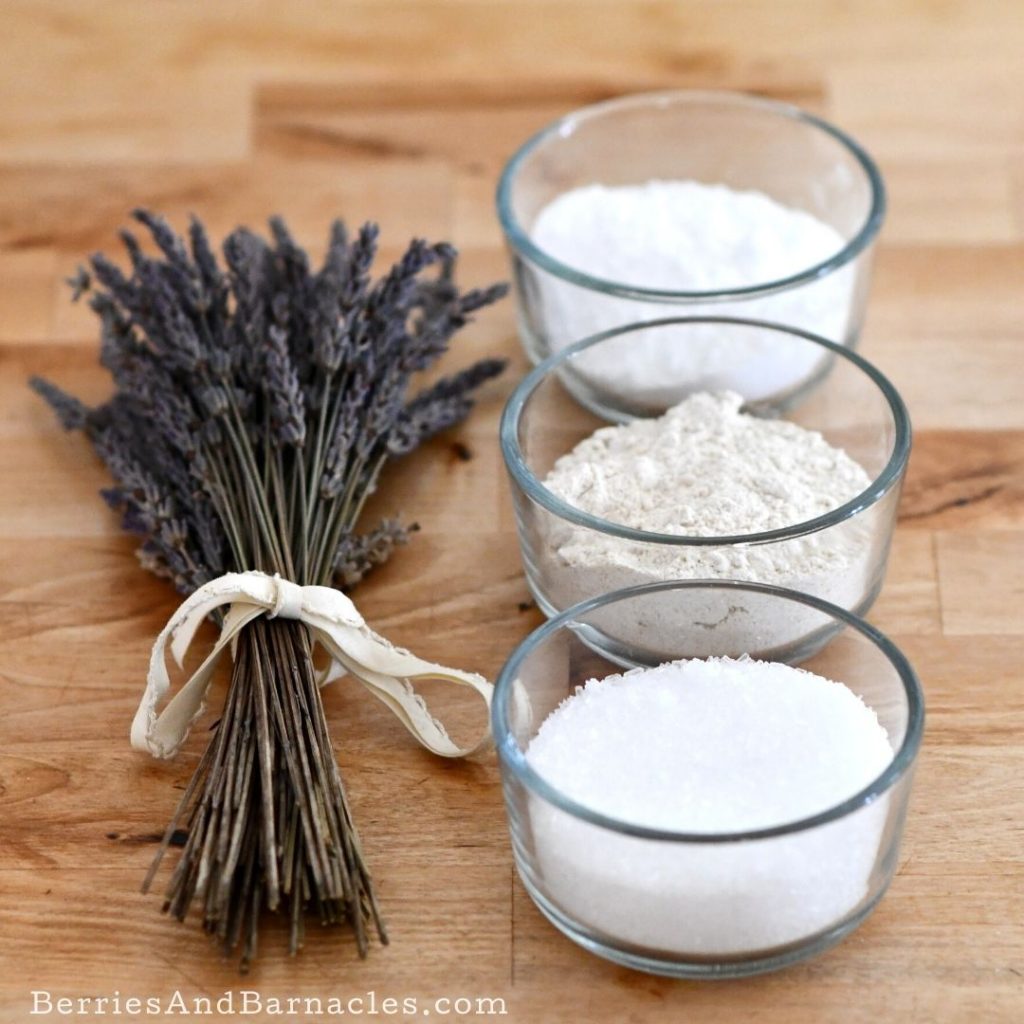
- Soothing Muscles Balm: 10 drops chamomile, 3 drops wintergreen, 3 drops lavender, 1 drop clove.
- Relaxing Foot Balm: 7 drops lavender, 5 drops rosemary, 5 drops peppermint, 2 drops tea tree.
- Anti-Fungal Foot Balm: 5 drops each of chamomile, lavender, peppermint, eucalyptus, and tea tree.
- Headache Soothing Balm: 15 drops of Japanese mint oil.
- Bug-Off Balm: 20 drops eucalyptus, 10 drops lavender, 10 drops citronella

Homemade Balms
Natural homemade balms take less than 5 minutes to make. Here are my favorite recipes for foot balms, relaxation balms, and an anti-bug balm. See the sections above for carrier oil options and my favorite essential oil mixes.
Materials
- Oil: Use a mix of your favorite carrier oils. I like olive oil and coconut oil because they are affordable and easy to find. But feel free to use any fancy oil you want.
- Wax: If you want a firm balm, then you will need to add a bit of beeswax. Or use cocoa butter as a vegan alternative. See the section above for details.
- Essential Oils: Essential oils are the heart of a good balm. I know I’ve already mentioned this a few times, but be sure to use high-quality, pure essential oils.
Tools
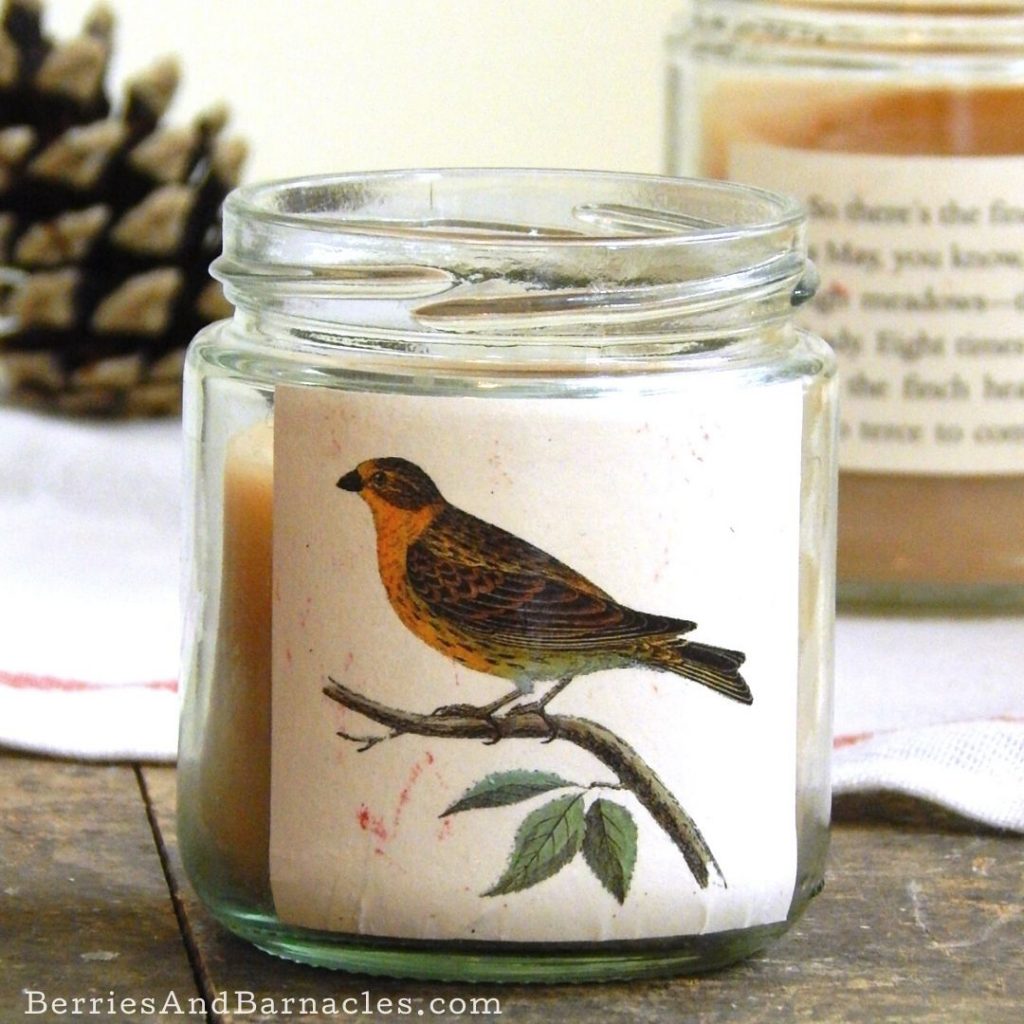
- Containers: You will need small glass jars or bottles to store the balms. These should be 125 ml (1/2 cup) or less since you really don’t need a huge amount of each type of balm.
- Microwave for melting the wax.
Instructions
- Measure the oil and beeswax into a small glass jar. For most balms, I recommend using small jam jars with a mix of 1 tsp beeswax and 2 Tbsp coconut butter.
- Microwave the jar in 20-second intervals. You want to melt the oil and wax, but you don’t want them to get hot. If you overheat the carrier oil, then allow it to cool before adding the essential oils. The perfect temperature is just about body temperature.
- Add the essential oils to the jar, counting the drops as you add them. It's fine if you add a few extra drops, precision can be hard with those little droppers. Stir with a toothpick to evenly distribute the essential oils.
- Allow the balm to cool to room temperature. Use within 6 months to a year to prevent the oils from going off.
Check out more cozy projects:
Leave a Reply