In order to run this site, Berries and Barnacles sometimes earns an affiliate commission on the sales of products we link to. We only feature items we genuinely want to share, and this is an arrangement between the retailer and Berries and Barnacles. Readers never pay more for products. Thank you for reading!
I’ve used sleeping bag liners for travel or camping my whole life. My first liner was something that my mother made… literally to line our sleeping bags. We did a LOT of camping, but it was back in the days when high-tech camping gear was either expensive or completely unavailable. So lining our cotton sleeping bags with flannel liners was the only way to sleep through a cold night.
Here’s why a sleeping bag liner is a must for anyone who enjoys camping or adventurous travel:
- Many hostels require you to bring your own sheets. That’s why Brad and I bought silk travel sheets for cycle touring.
- Sleeping bags are hard to clean… however, a liner can easily be thrown into a washing machine.
- They are perfect for making sleeping bags warmer.
- Also handy for those hot summer nights when you don’t need a sleeping bag at all.
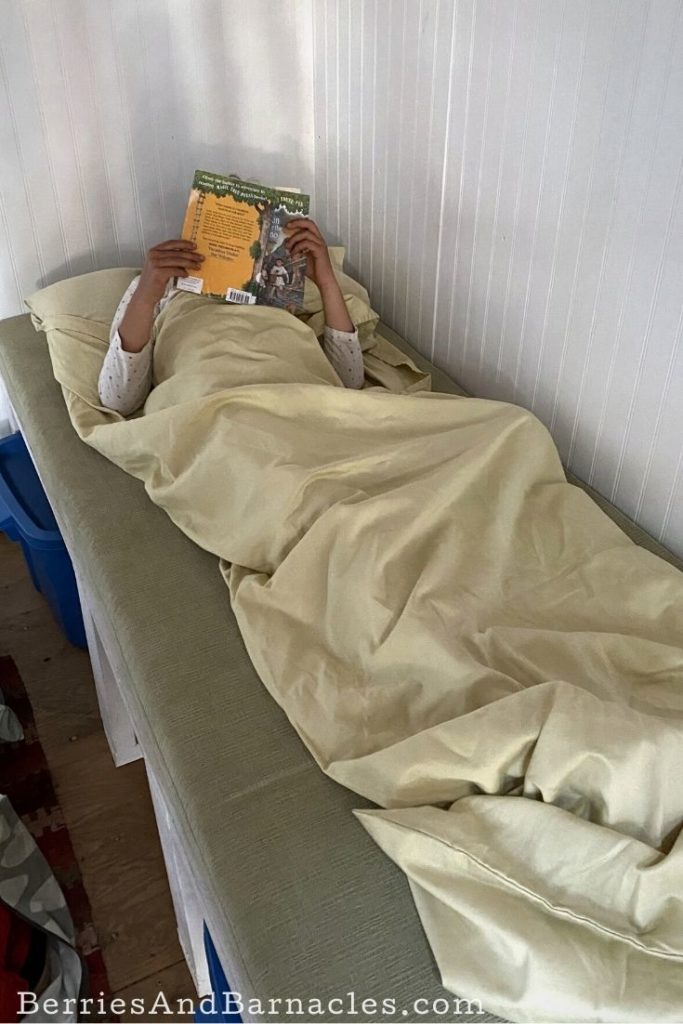
- We mostly use our sleeping sheets in our shabin. But they are also handy for boats, RVs, or any place where typically sized sheets won’t fit.
DIY Sleeping Bag Liner
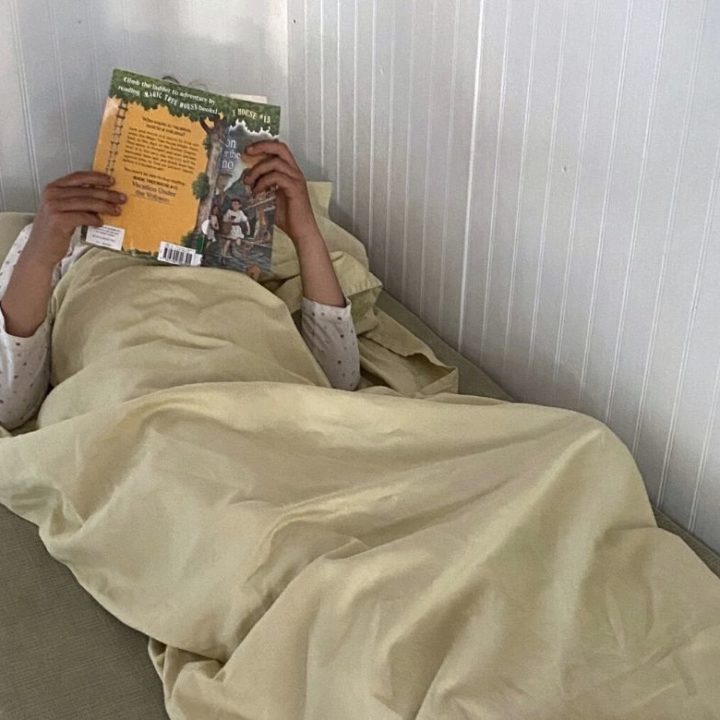
This DIY sleeping bag liner is perfect for camping, travel, RVs, boats, or tiny homes! It's simple to make from a twin-sized flat sheet.
Materials
- 1 twin bed flat sheet (we used an old sheet set)
- 1 regular-sized pillowcase
Tools
- Sewing machine and thread
Instructions
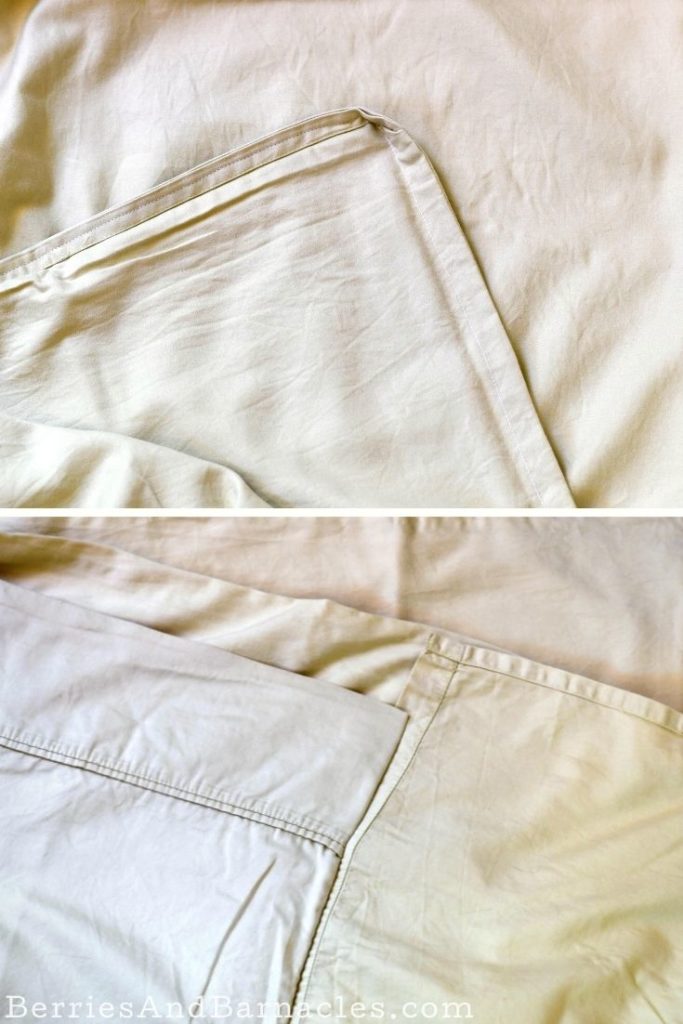
- Sew the pillowcase to the top of the flat sheet, lining up the opening of the pillowcase along one of the sides of the sheets. Do this by sewing from the inside of the pillowcase to the top edge of the sheet. It's a bit tricky to get right to the end, but it's not really necessary. Having the pillowcase sewn in makes it easy to keep the pillow in place while sliding around on an air mattress.
- Fold the flat sheet in half lengthwise. Sew down the side of the sheet to form a long tube. Leave the top 36-inches (90 cm) unsewn. The unsewn gap will include the length of the pillowcase plus a bit extra to make it easier to crawl into the sleeping sheet.
- Decide how long you want the sleeping bag liner to be. A typical length is 85-inches ( 215 cm), but adjust to fit your height. I recommend excluding the 20-inches of your pillowcase when calculating the length because longer is always better.
- Add an extra inch (2.5 cm) to your length for the seam allowance, then cut across the bottom of the sheet. Sew the bottom of the travel sheet closed. I recommend using a French seam, which is both sturdy and invisible, so it won't fray.
- Voilà! You have an affordable (potentially free, if you used an old sheet) travel sheet!
Check out more camping posts:
Leave a Reply