How to build an LDU pit as a simple solution for off-grid gray water disposal. Perfect for campsites and cottages!

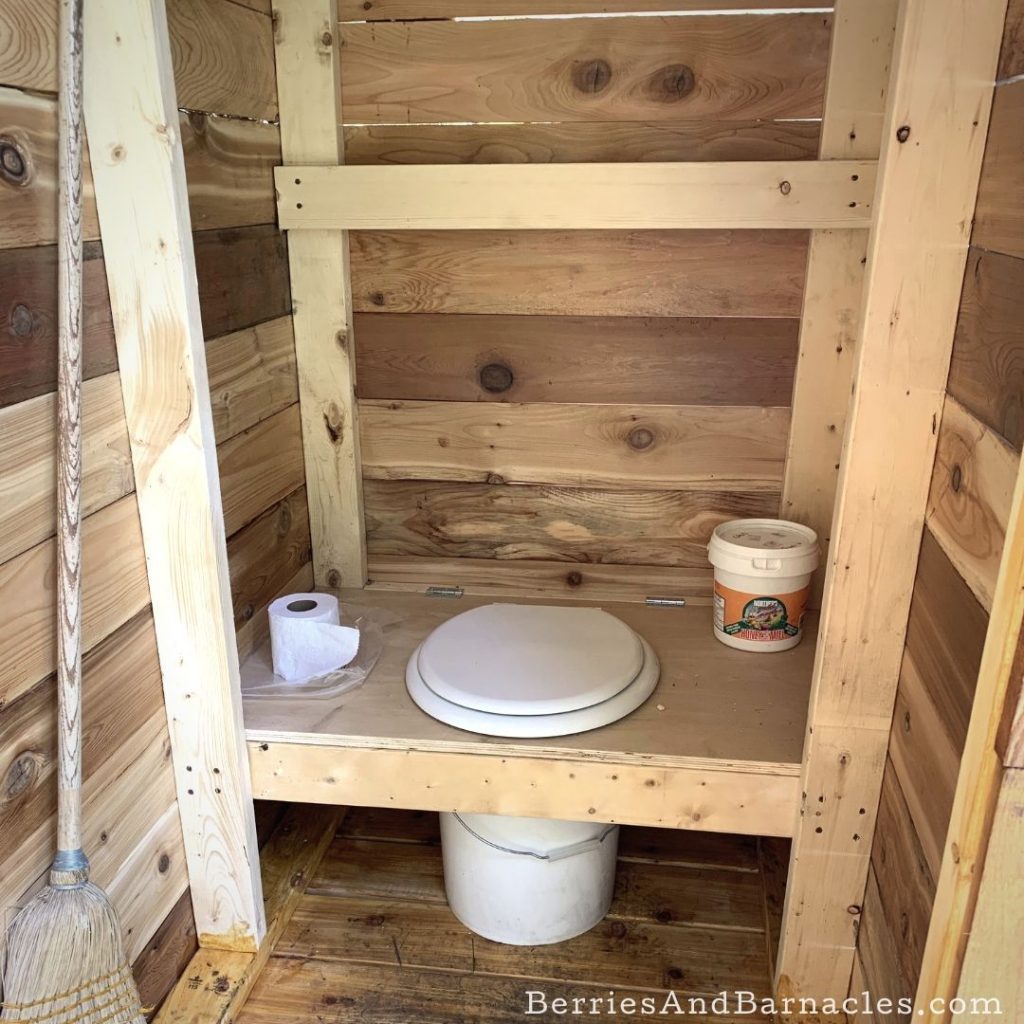
As a kid, I went to a lot of rustic, woodsy summer camps. Equipped with outhouses, canvas tents and something called an LDU for off-grid gray water disposal.
Emptying the buckets of gray water was one of the worst chores, mostly because the 5-gallon buckets were so full it took two kids to haul them over to the pit. The LDU was usually located as far from the rest of the campsite as possible, and it took a good deal of cooperation to avoid getting splashed by the bucket of dirty dishwater.
Perhaps not the most idyllic childhood camping memory… but it turns out that building my own LDU (liquid disposal unit) was the best way to deal with grey water disposal on our off-grid property.
What is grey water?
Grey water is any liquid that needs to be disposed of that isn’t contaminated by pathogens or chemicals. So it NEVER includes toilet water or diaper washing water. It can include water from dishwashing, showering, and laundry as long as you are using fully biodegradable soaps.
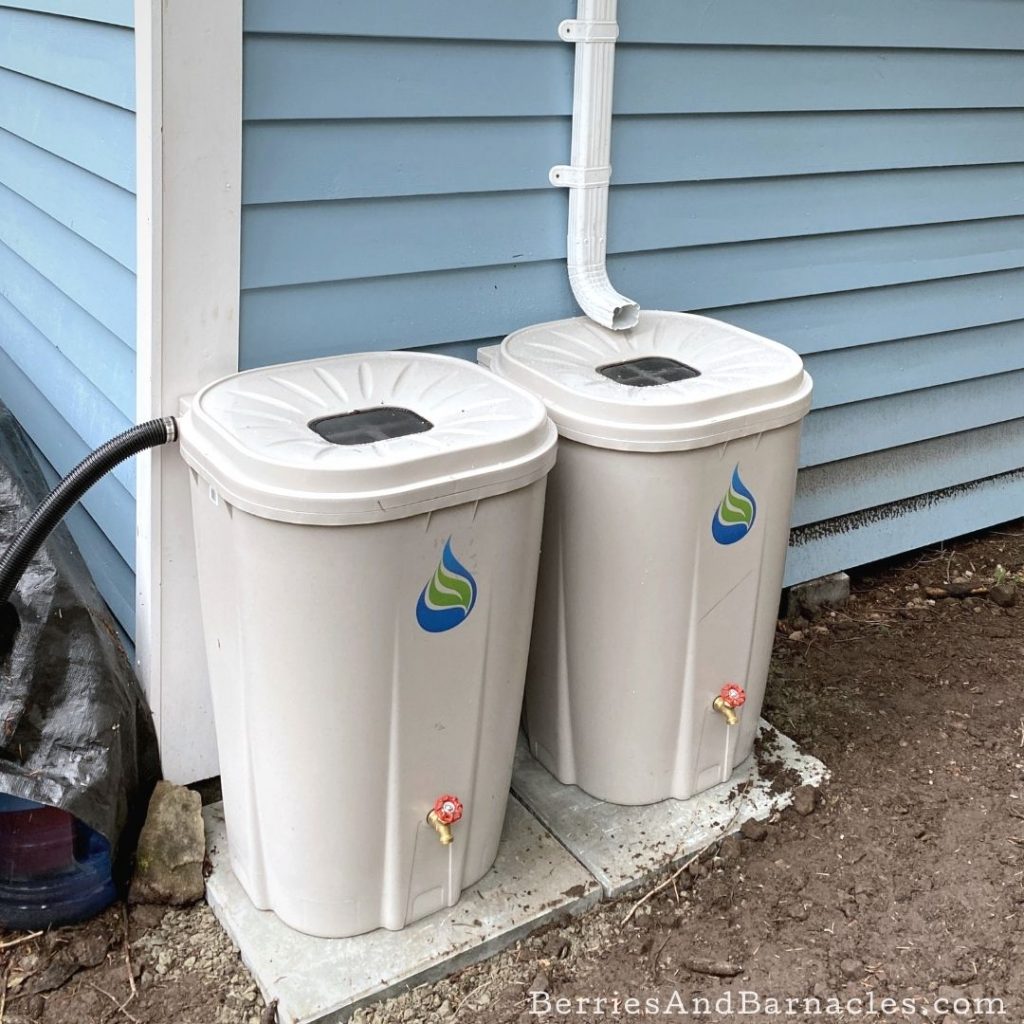
There’s a huge push towards capturing grey water for reuse. It’s perfect for flushing toilets and watering gardens, particularly if you live somewhere arid.
However, the Pacific Northwest is anything but arid. So we mostly needed to dispose of our grey water in a manner that would keep pests away from our main campsite and would prevent contamination of a nearby stream. A few options included:
- Watering plants and the garden: This involved pre-filtering the water to remove any bits of food. It’s important to only water plants that aren’t near where you camp, cook, or play as it can attract bugs.
- Grey water garden: Grey water gardens are great. However, they take a bit of time and effort to build and aren’t ideal for our cliffside location.
- Liquid Disposal Unit: We opted to make a vintage camp-style LDU for most of our gray water disposal, with some water being used to water plants.
Building a simple off-grid gray water disposal system.
In this case, our gray water disposal system was a pit designed for dumping dishwater and toothbrushing water at our off-grid campsite.
It was the easiest way to ensure clean and environmentally sensitive water disposal. It’s perfect for up to 10 gallons of washing water a day. However, it won’t work for a full-time dwelling as it just doesn’t have the capacity to leach that much water. This system also won’t work if your soil is very heavy clay.
Gray water disposal pit
Build an LDU (liquid disposal unit) pit as a simple solution for off-grid gray water disposal. Perfect for campsites and off-grid cottages!
Tools
- Shovel
- Crushed stones about 1-inch in size
- 7-feet of wood for framing
- Piece of screen door net about 2-feet by 3-feet
Instructions
- Choose a location for the gray water pit. It may attract bugs and other pests, so aim to keep it away from your main campsite. It’s also best to locate it near some trees and bushes so they can benefit from the extra water and help with filtering. (We were lazy and reused a hole that was dug for a perc test prior to buying the property. It has the advantage of already having passed a test for drainage.)
- Dig a hole at least 3 feet deep. Fill the bottom with crushed stones at least 1-foot deep.
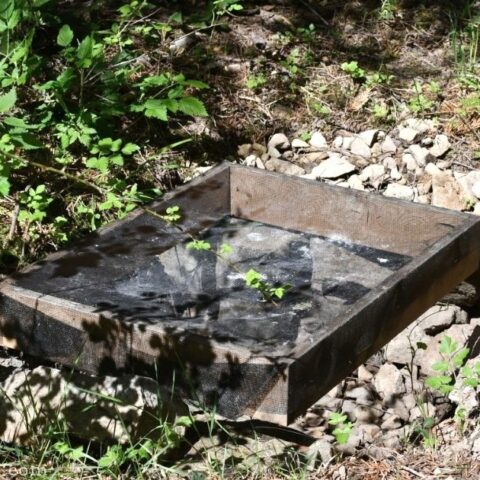
- The water needs to be filtered before disposal to ensure that you don’t have bits of food or anything going into the pit. We decided that the easiest way for us was to place a filter over the pit. Alternatively, you could filter the water into a bucket prior to disposal.
- We made a rectangular frame that was 18-inches by 24-inches in size. Then we stapled screen door netting to the frame. As a final layer of filtering, we also lay j cloth over the screen. The weave is fine enough to act as a filter without absorbing too much liquid. Though j cloths are disposable, they can also be rinsed and washed for reuse.
Check out more off-grid posts:

Leave a Reply