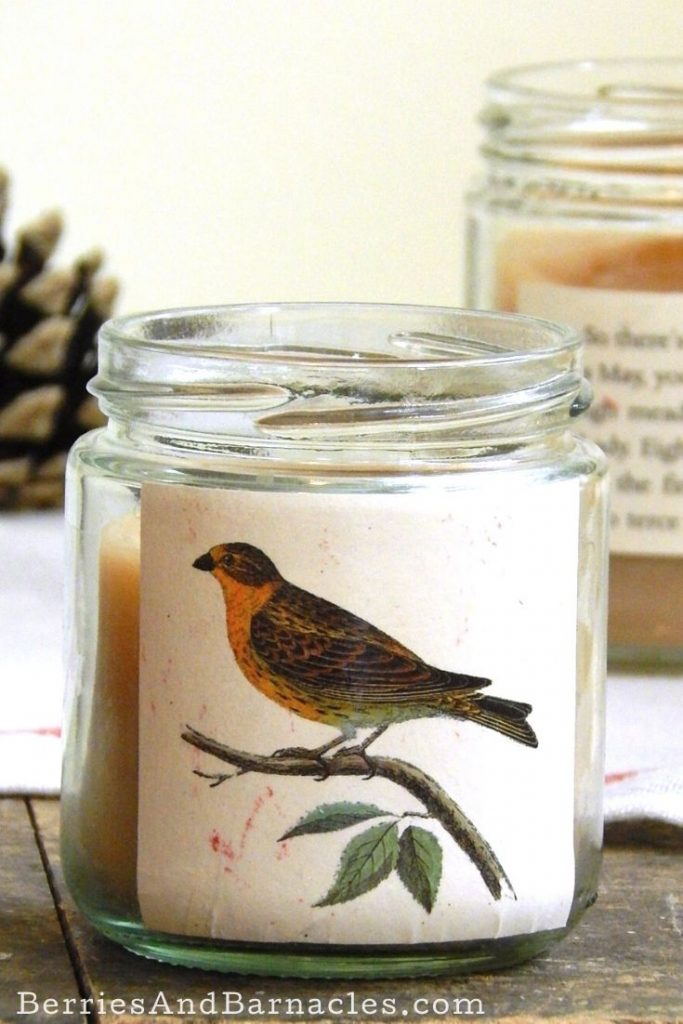
Paper-wrapped votive candles are beautiful and cozy. Use recycled glass jars and old sheet music for an easy craft that makes a perfect gift.
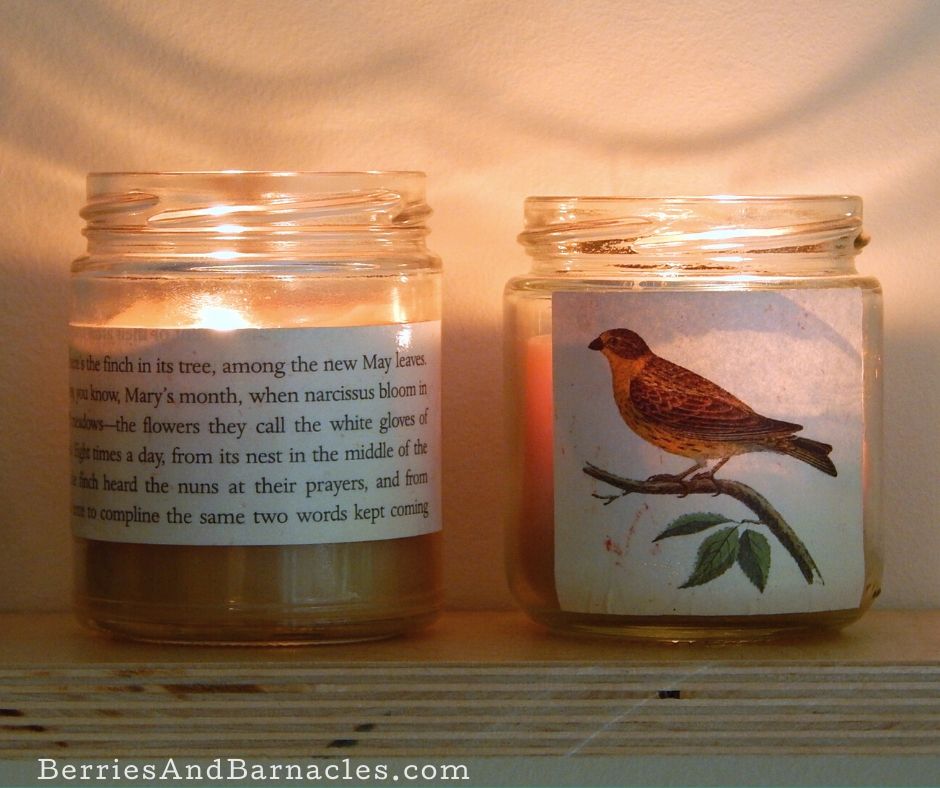
The best thing about long winter nights is how cozy they are. Every fall I am overcome with the need to brew pots of rooibos chai tea, light paper-wrapped votive candles, and listen to Joni Mitchell’s Blue, an album which is somehow symbolic of the longing that comes with the death of winter.
The inspiration for this project came from a book that I found in a free library. It was a beautiful mix of pictures, poems, and stories, yet not something that I was actually going to keep on my bedside table. So I decided to use my favorite pages to decorate glass jars. The project quickly evolved from jars that could be used to hold buttons, seashells, or sunflower seeds into votives for beeswax candles.
Paper-wrapped jars
Decorating glass jars with paper is incredibly easy. In fact, the hardest part was deciding it was all right to vandalize a book for a craft. However, these paper-wrapped votives could be made with all sorts of different types of paper:
- Sheet music
- Maps
- Vintage photographs
- Book pages
- Fancy gift wrap
- Paper doilies
Gluing paper to jars is really, really simple. In fact, it is so simple that Max and Una made votives for their teachers with minimal supervision. However, I did have to help with the candle-making portion of the projects. Melting wax is definitely the sort of activity that requires supervision!
Method
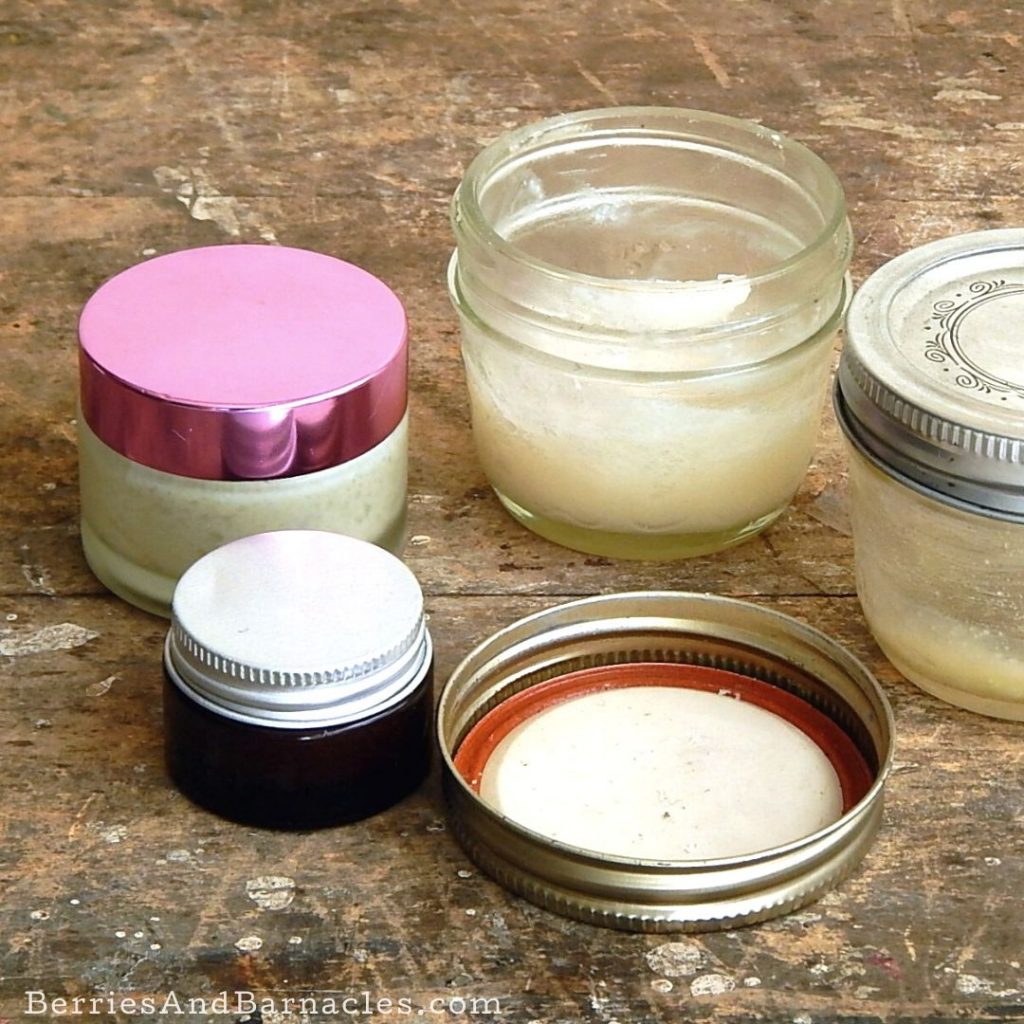
- Collect glass jars: This is a perfect way to reuse glass jars. I recommend using straight-sided jars because it’s easier to glue the paper onto a flat surface.
- Remove the labels: Certain labels can be really hard to scrub off. If soap and water don’t work, try using a bit of oil or rubbing alcohol. Usually, one or the other will dissolve most labels.
- Cut out whatever you are planning on gluing to the jar.
- Spread a layer of Mod Podge or acrylic clear coat onto the back of the picture. Position it on the glass, then spread another layer of acrylic on top of the paper to seal it, and you’re done!
Now your jar is decorated and ready for whatever you might want to do with it. I recommend turning it into a candle.
Homemade Candles
Making candles requires a bit more work to get organized. But once you’ve made a batch of candles, you’ll probably be addicted. It’s really simple, affordable, and fun.
It’s possible to make candles in all sorts of objects: teacups, molds, and forms. However, making your own paper-wrapped votives is very hygge.
The joy of making paper-wrapped votive candles is so fun. Max and Una made them for teachers’ gifts, and I made a whole bunch for a party.

Votive Beeswax Candles In Recycled Jars
Paper-wrapped votive candles are beautiful and cozy. Use recycled glass jars and old sheet music for an easy craft that makes a perfect gift. See the sections above on how to prepare recycled glass jars for candles.
Materials
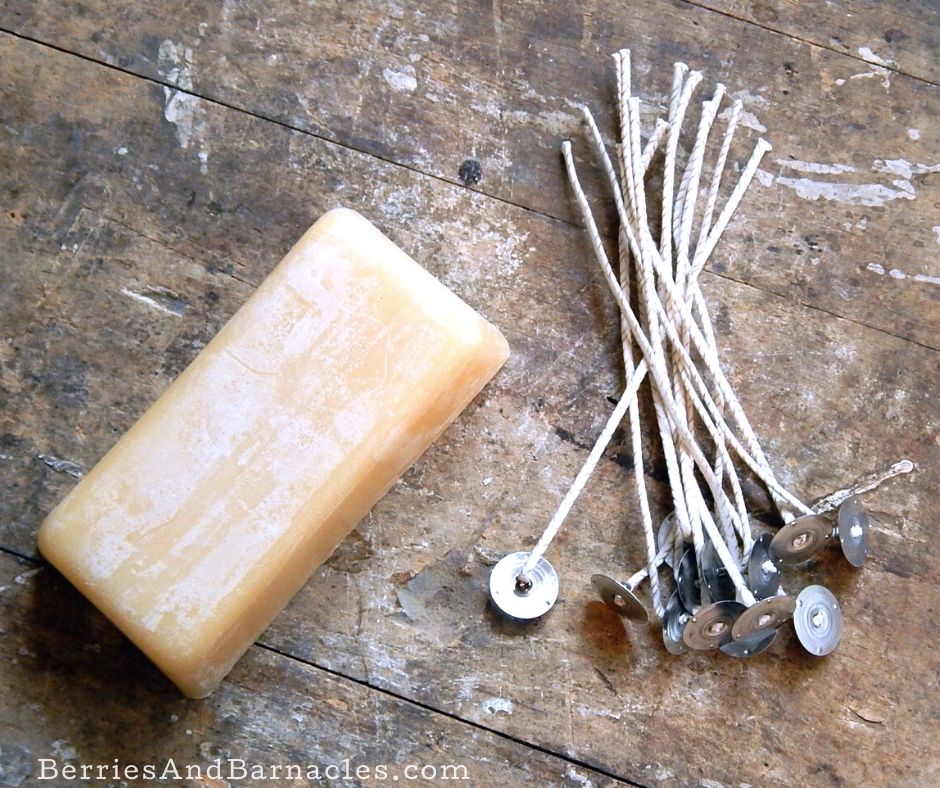
- Wax: I like using beeswax because it burns nicely. Soy tends to smoke, but it is my favorite vegan alternative. Paraffin is also an option. You can buy wax in pellets, but the large blocks are usually cheaper.
- Wicks: You can make wicks out of cotton kitchen string dipped in wax, but I recommend buying braided wicks as they don’t burn as quickly and have that little metal base that makes them stand up nicely in the jar.
Tools
- Large tin can: You need a container to melt the wax in. A large 28 oz tomato can is perfect. It’s large enough to fit a block of wax and you can pinch one side to make a spout.
- Chopstick: A chopstick is perfect for stirring the melting wax.
Instructions
- Fill a small saucepan with 2 inches of water.
- Place the saucepan on a burner on medium heat. Then nest the tin can inside the saucepan so it is floating in the water, essentially creating a double-boiler.
- Place the wax in the tin can, and leave it to melt. This can take up to 10 minutes, depending on how large the block of wax is. To keep yourself entertained, stir occasionally with the chopstick. It is worth noting that wax is flammable… so don’t spill it on your burner or leave it to continue to heat after it has melted. You just need to melt the wax then take it off the heat.
- Meanwhile, secure the wick to the bottom of the jar, this can be done with a bit of modeling clay or a glue gun.
- When the wax has melted, pour the wax into the glass jar. Usually, the tin can isn’t that hot, so I can pick it up with my bare hands. However, if it’s hot, then use an oven mitt. Fill the jar and make sure that you leave at least 1/4 inch of wick above the wax.
- Keep the wick centered by laying a pencil across the jar, then lean the wick against it. Braided wicks are usually stiff enough to stay put while the wax cools. If the wick is more flexible, then you can tie it to the pencil.
- Any remaining wax in the tin can be remelted for future candles… it is addictive!
- Always trim the wick to 1/4 inch before burning to prevent smoking. And burn votive candles for at least 1 hour at a time to prevent drowning the wick.
Check out more cozy projects:
Leave a Reply